How to grind coffee beans without a grinder?
It’s every coffee lover’s worst nightmare: finding themselves stuck in a hostile environment without any access to freshly ground coffee. But don’t panic — help is available.
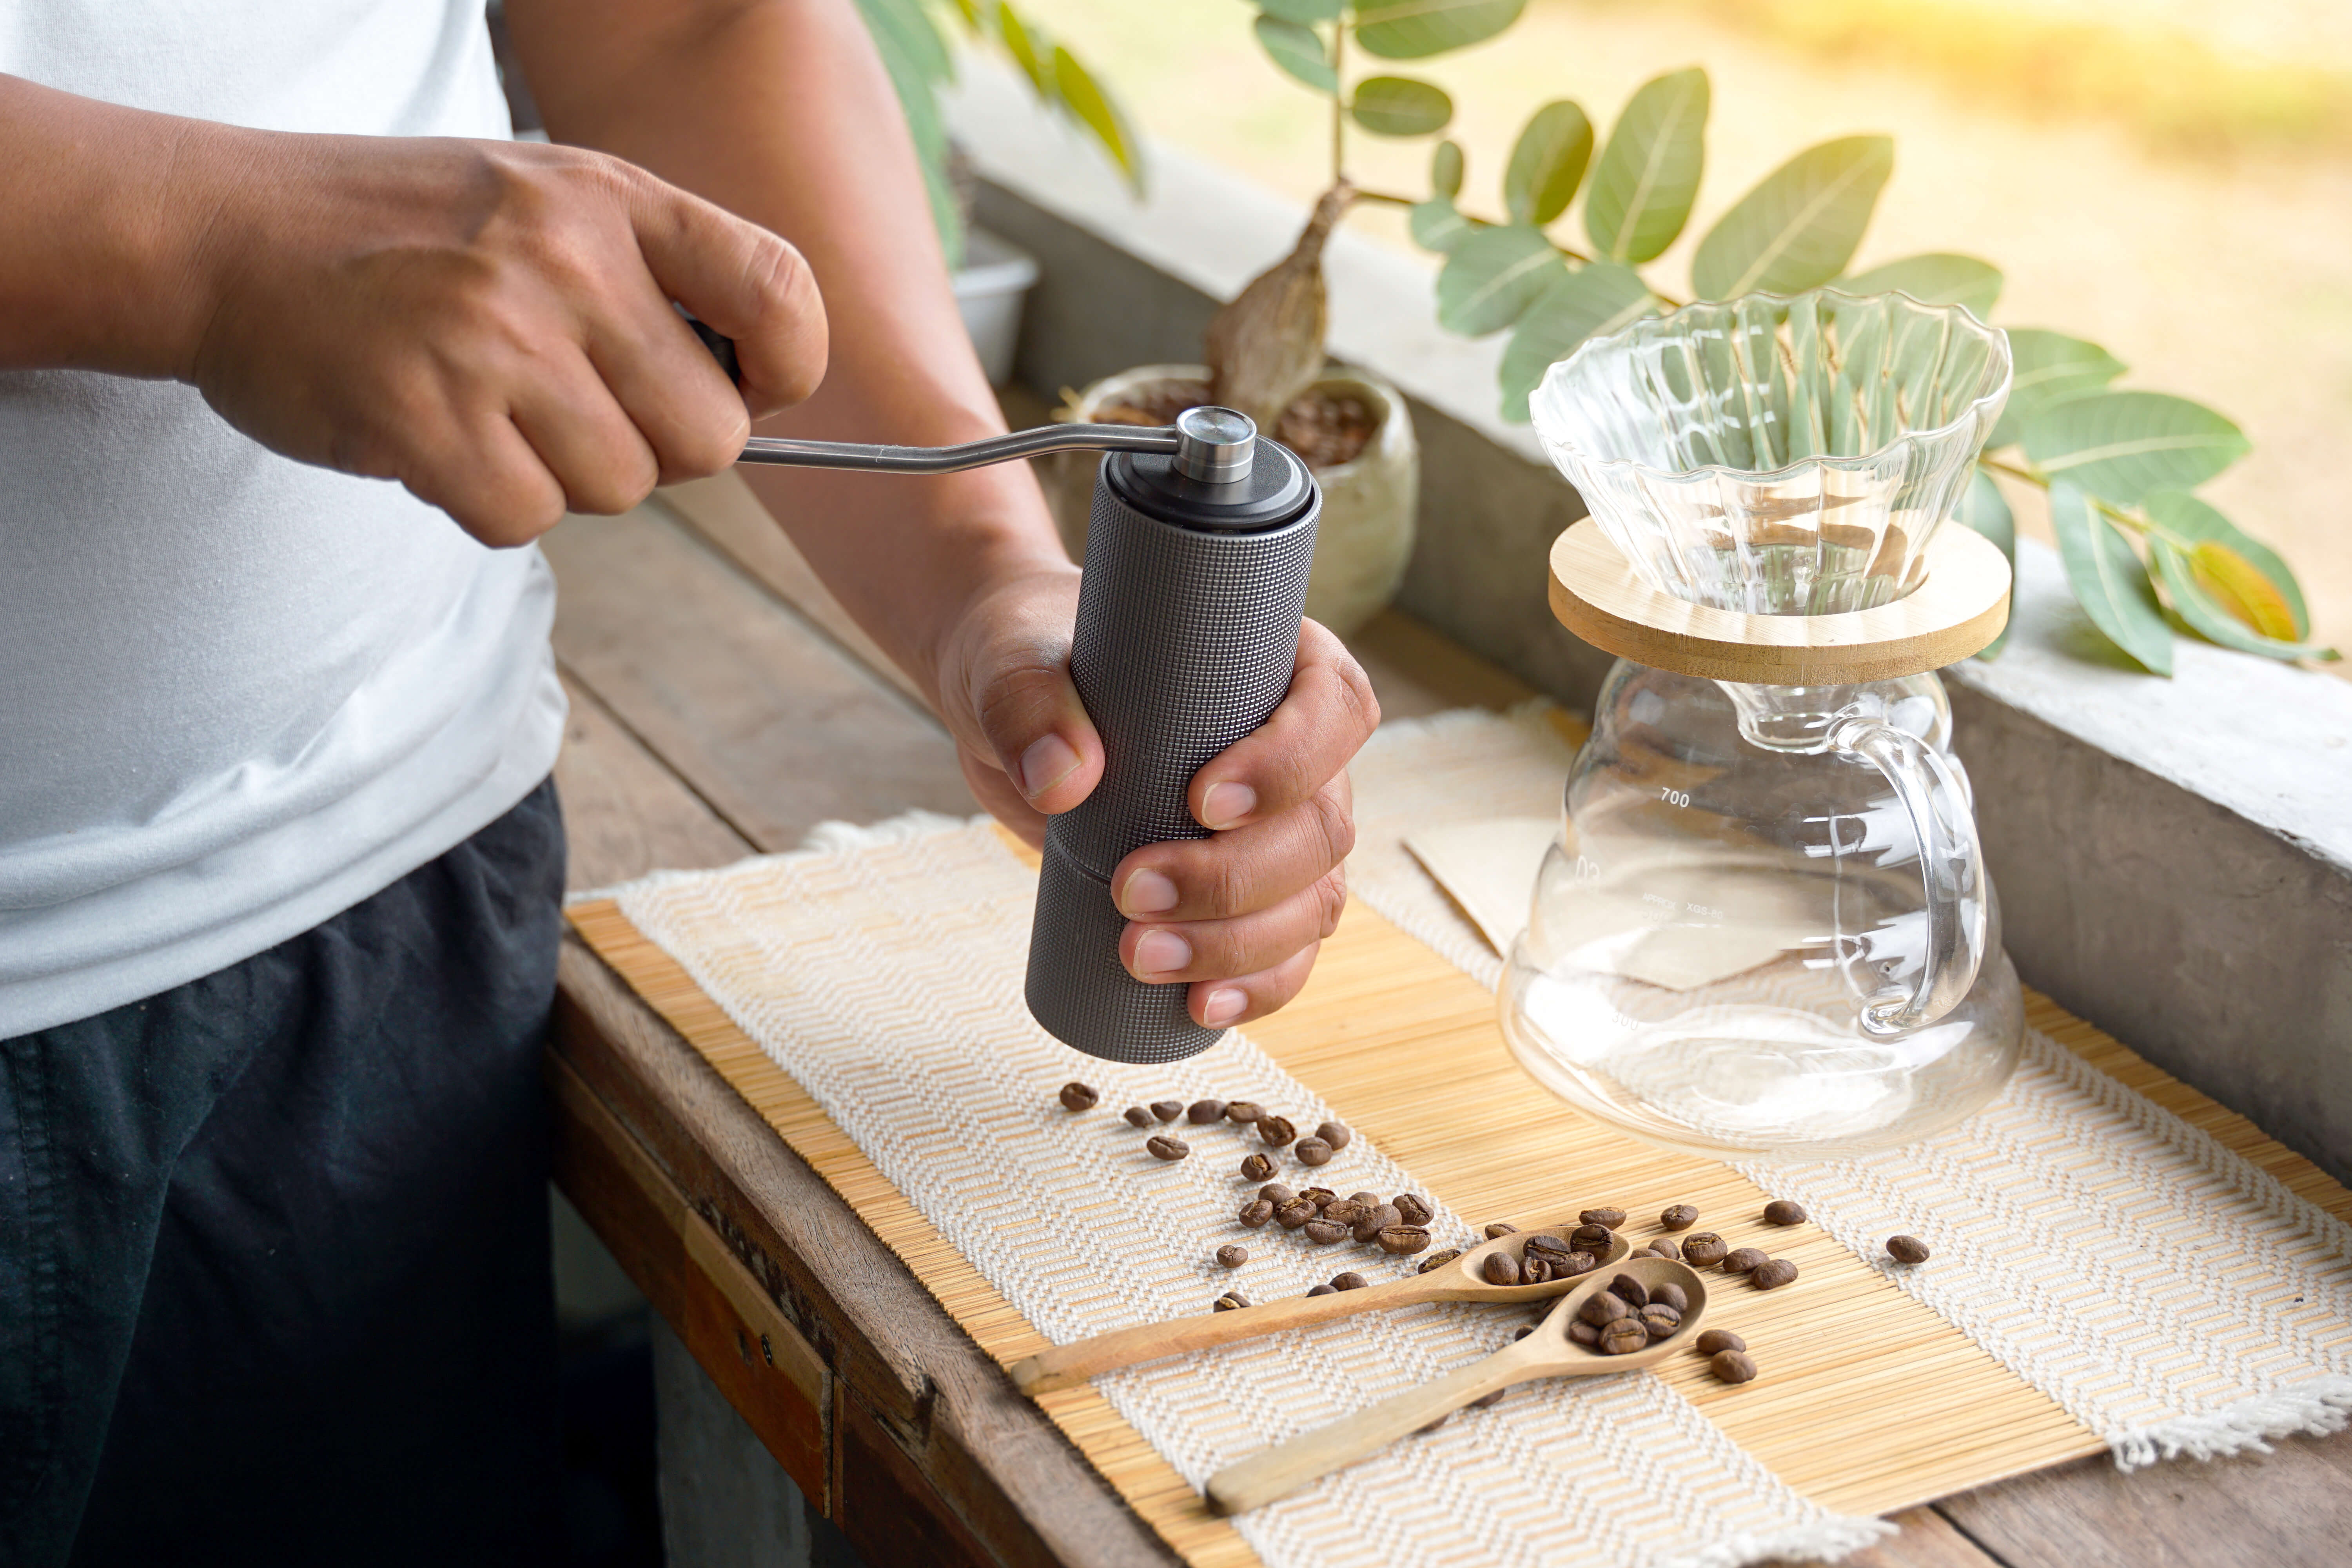
While we recommend using a coffee grinder to grind your beans, you can actually grind coffee beans without a grinder when there’s not one to hand. All you need is a pack of your favourite beans, some common household tools, and a smidge of elbow grease — we’ll provide the necessary know-how.
Here’s everything you need to know about how to grind coffee beans without a grinder.
Is it worth grinding your own coffee beans?
First of all, let’s address the ‘why?’ Does it make such a difference if your coffee is fresh or not? We say yes.
At Beans Coffee Club, we recommend always using fresh coffee that’s been ground just prior to brewing. This ensures that your coffee is better protected against oxygen exposure that could degrade its flavours, as ground coffee has a shorter shelf life than freshly roasted whole coffee beans.
Fresh coffee is good coffee — and your cup should showcase all the delicious flavours and aromas that it’s picked up through its growth, processing and roasting before ending up in your hands.
What’s more, grinding your own beans will give you a greater degree of control over the grind size itself, which massively influences the coffee-drinking experience. For a perfect cup of joe, you’ll want a uniform grind size that has been tailored to the specific coffee preparation technique that you’re using. If your grounds are inconsistent in size, some of them might over-extract as they brew while others under-extract — resulting in an unpleasant, chalky taste.
So, while it can take a little bit of practice to perfect, it’s always worth getting on the grind and preparing your own freshly ground coffee.
How can I grind coffee beans without a grinder?
To grind your coffee to perfection, you’ll first want to measure out the desired volume of beans. The amount you should use depends on how you’re preparing your coffee — so take a look at our coffee brewing guides for some insight into the correct quantities.
Then, little by little, you can grind your beans mechanically or by hand. Here are the techniques we recommend, plus some of the quirks that you’ll want to bear in mind as you get to work.
Blender
Coarse to medium grind
You can use a standard kitchen blender or food processor to grind coffee beans at home. This handy mechanical technique takes some of the manual labour out of bean grinding, but you’ll still need to pay close attention to the process if you’re using a tool that doesn’t have a ‘pulse’ setting.
This is because running the blender continuously will generate heat as the blades spin, which can cook the oils in your beans slightly and create a bitter flavour. To avoid this, add your beans little by little and pulse your blender in 3-5 second bursts until the grounds are consistent in size. Blending isn’t a super precise way of grinding your beans, but it’s useful when you only need a coarse to medium grind or have a lot of beans to get through. Just make sure you wash it out thoroughly after you’re done — we’d hate for your morning smoothie to have notes of stale coffee.
Method
- Set your blender to ‘pulse’ or the highest power pre-set available
- Add a small number of coffee beans to the blender and cover
- Grind in 3-5 second bursts, adding a few beans each time until coffee reaches desired consistency
Rolling pin
Medium to fine grind
The bakers among you will be no strangers to a rolling pin. But if you don’t have the tool itself to hand, you can substitute for anything else durable and cylindrical — think food tins or water bottles. Pounding and rolling your beans will create a uniform medium to fine texture.
To get the job done, you’ll need to roll precisely until you have an even grind. Move the grounds around in the bag to ensure that you get to any larger chunks as you roll. You’ll need a chopping board or work surface and a bag or some parchment paper to keep your grounds encased.
Method
- Add the desired volume of beans to a freezer bag or similar carrier and squash out any air
- Place bag on a chopping board or another durable work surface
- Gently pound the beans until they’ve started to break up
- Roll with a back-and-forth rolling motion until crushed into a medium to fine consistency
Hammer
Coarse to medium grind
While it might seem a little brutal, you can also use a hammer or a small meat tenderiser to grind your coffee beans. Naturally, you’ll want to take care with a method like this not to damage your countertops or any of your fingers, but if you don’t have any more elegant tools laying about, a hammer works just fine for a coarse to medium grind.
Once more, you’ll want to use a plastic bag or similar to stop your grounds from scattering. The trick here is not to strike the beans with full force, but forcibly press down on them until they reach a consistent size.
Method
- Add your beans to a freezer bag or another carrier and squash out any air
- Place atop a durable surface
- Pound beans until crushed and even in consistency, moving from one end of the bag to the other in repeated motions
Knife
Coarse to medium grind
Much like you’d squash cloves of garlic for cooking, your beans can be crushed with the flat side of a large knife. For the best results, you’ll want to use a chef's or butcher’s knife, which is wider and stiffer. This way, you ensure the maximum surface area and more control over your grind texture.
Grinding your beans with the side of a knife will give a coarse to medium grind, depending on how long you spend crushing them. You’ll also need a chopping board.
Method
- Place your beans on a chopping board or another work surface
- Lay your knife flatly on the beans and begin to press down
- Pulverise all of your beans by forcibly pushing down with your palm and cracking them open until you reach the desired consistency
Mortar and pestle
Fine to super-fine grind
We’ve saved the best until last. The traditional mortar and pestle can be used to grind beans into practically any texture, depending on how long you spend crushing them. This is the only by-hand technique that can give you a really fine grind without you spending half of your working day crushing up coffee beans.
You’ll need to use your dominant hand to hold the pestle (the stick) and your non-dominant hand to hold the mortar (the bowl). From here, move in heavy hammering motions and roll across the full circumference of the mortar to get a consistent grind.
Method
- Add a small number of coffee beans to the mortar
- Hold mortar securely and pound beans with the pestle
- Continue adding the beans little by little until you’ve crushed the full desired amount
- Once fairly crushed, roll the grounds around the sides of the mortar bowl, grinding them into a finer texture
How long should I grind coffee beans?
How long you grind your coffee beans depends on the technique you’re using to grind and the consistency that you’d like your grounds to be for your brew.
For example, if you’re using a mortar and pestle to grind your beans up fine to be used in an espresso machine, we recommend taking anywhere from five to ten minutes to fully pulverise your beans.
On the other hand, if you’re grinding your beans into a coarser consistency, suitable for a cafetière, you’ll only need to spend 30 seconds or so using a blender or one of the other manual techniques.
Find your next favourite coffee
If you’re just learning the tricks of the trade to truly good at-home coffee, then we can help you on your java journey. At Beans Coffee Club, we’re on a mission to match everybody to the perfect brew — so if you fancy giving something new a try, then take our handy coffee quiz and recommend a roaster that suits your tastes to a tee.

